
Earlier this week I opened a fresh bag of spinach from the shop and found a small patch of soil at the middle of the leaf. I stared at it for a minute before I worked out what it was: dirt, sitting in the middle of a leaf, in a bag I have bought before, from a store I trust.
It is the kind of thing that makes you rethink the whole washing setup. My lettuce has gone from the sink rinse-it-off routine to a bowl-and-colander setup, and it has quietly become the best five minutes of my day — hands in cold water, leaves turning, the kitchen going quiet while I sort one leaf at a time. That is the moment I changed how I wash vegetables, and it started with one very small stain.
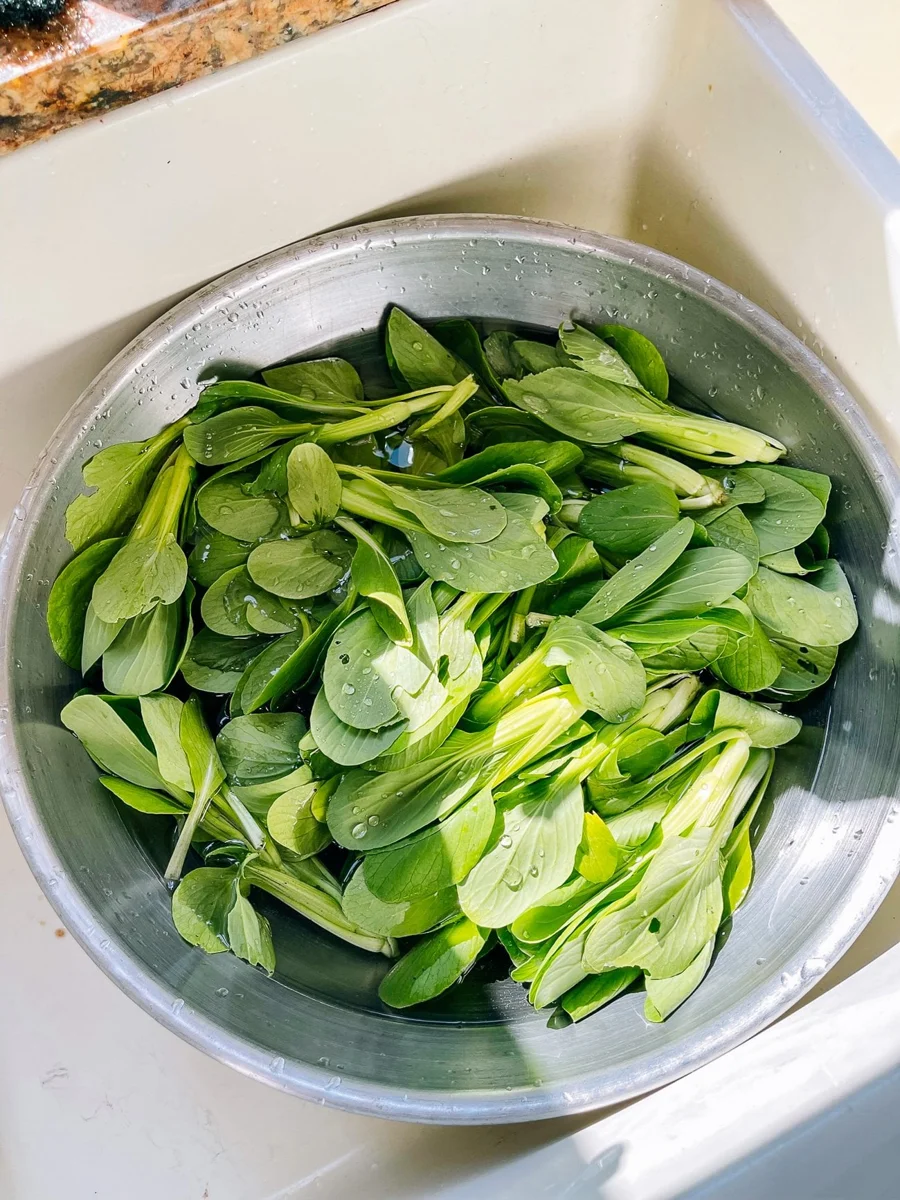
Back at the restaurant where I spent six years on the line, the washing station was the one job nobody on the team wanted. The cold water never stopped being cold, the leaves kept clinging to your hands, and by the end of lunch service every basin was opaque with grit. I got good at it. I could spot a bad batch in seconds. Then I came home, picked up the colander-and-bowl routine I had borrowed from a line senior I worked with a long time ago, and started making my own routines out of his. This is that setup, updated for a small family kitchen with a fridge and no spare counter.
The three-step method I actually use
It sounds like it would be a lot of work. It is not. You need a big stainless steel bowl, a colander with lots of small holes, and cold water. That is all.
Step one: the first soak, five to ten minutes. Fill the bowl with cold water and put the greens in. Give them a gentle turn with your hand so the water reaches every leaf. This is for the obvious dirt — the soil on the surface, the little clumps that stick to the base of the stems. Leave them for five to ten minutes while you pull out the yellow, tired leaves and the ends that have gone rough. Not much. Just the pieces you would not actually want to eat.
Step two: lift, do not pour. This is the move I still check. Lifting the vegetables out of the bowl and into a colander keeps the grit at the bottom of the bowl instead of rain over them again. If you pour, the gritty water goes right back through the clean leaves. You are undoing the first five minutes of work for nothing. I found this out in the line, watching food that could have stayed clean come out gritty.
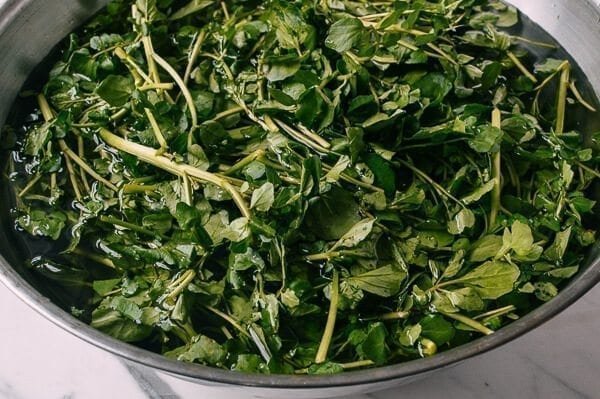
Step three: the second wash, ten to twenty minutes. Fresh water in the clean bowl, greens back in. This is where the water gets into the layers of the leaves and the grit settles, and it also gives you somewhere to stand while the cook is happening at the stove. Swap the leaves around by hand — you can actually feel where the sand is hiding — and let them sit. They are done when you cannot find a particle under your thumbnail and the water stays clear.
The leaves you should cut
These are the vegetables that get a slightly different wash: lettuce, cabbage, napa cabbage, broccoli, cauliflower, and anything else that grows in a head. The layers here are where the dust settles, and the water cannot get between them until you splay them open.
For lettuce, simply pull the outer leaves off, one at a time, and drop them into the bowl. For cabbage and napa, cut out the core and spread the leaves apart so the water gets around them. Broccoli and cauliflower come apart into florets — you do this before the wash, not after, because the cut side is the one that grabs the grit when the water hits it.
That last part is the rule that makes the difference between a clean plate and a gritty one. Cutting first means the water washes into the interior. Cutting after the wash means you are scraping soil right back onto the surface that is already clean. Wash the whole leaf, then cut it at the end, and keep the wet pieces from drying out if you cannot cook them just now — a covered container in the fridge is enough.
Baking soda, and when it earns its place
I was burned by this one. A senior at the restaurant taught me that alkaline water takes the grit off the surface better than plain water, and it works. But I used to push it too far — soaking the wetter greens in a solution for too long, then serving them damp and slightly bitter, and I could not figure out what I had done wrong.
The ratio is simple: three tablespoons of baking soda to a large bowl of water , which comes out around a teaspoon per two cups of water. Stir it in, swish the produce around so the water is moving against the leaves, and then put the timer on for ten minutes. Ten, not more. After that, rinse the greens well under a running tap, and the water should feel the difference — not bitter, not plain, just clean.
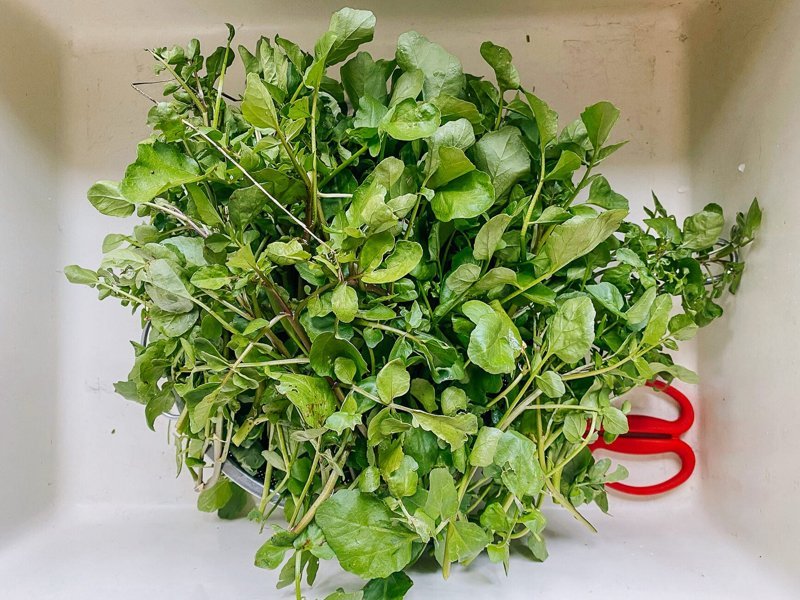
For the firmer, least-leafy items — wheat, greens, the big leafy bits I buy in a market bag — I do them twice in the washing bowl with plain water. That is usually enough. For the salad greens I eat straight out of the fridge, I use the baking soda soak. It is not an either/or choice as much as a judgment you make as you look at the leaves in your hands.
The waxy ones
These are the vegetables that look fine but never actually are. Tomatoes, peppers, zucchini, squash, eggplant, celery, potatoes. None of them need a long soak. They need a brush.
I have used a natural-bristle vegetable brush for years, and I keep one in a drawer under the sink where I can find it in the dark. The trick is to rinse the produce in the bowl of water first. Then, with the brush, work through the whole skin in short, decisive strokes. You can feel the grit give under the bristles before you rinse it off. For the tougher skins — the end of zucchini, the ends of a pepper, the eye on a potato — press the brush in a little. That is where the sand hides, and a quick tap over the surface with an open palm will tell you there is still dirt under the brush if you are still finding grit when you peel the vegetable for the pan.
Peel after, not before. The cleaner the skin is when you peel it, the less grit you carry into the crisper pieces that go straight into the food.
The thick-stemmed stuff
Some of the leafy vegetables come from the farm with a stem that is not something you want to bite all the way through. Asparagus, broccoli stems, gai lan (Chinese broccoli, a thick-stemmed Chinese green), the leaves of the turnip greens you see at the Asian market. The outer layer is woody and woody. It is not one you want to crunch through.
The fix is a paring knife, or a good peeler if you have one. Run it down the length of the stem, just under the surface, and the outer layer comes away in a long, thin strip. The inside of the stem is almost sweet and barely woody. I eat it in the same meal as the leaf, and the person across from me has no idea it was ever the outside of anything. If I am being honest, I am not always getting the layer off perfectly. Sometimes it is a ragged little strip, and sometimes it is just a better-looking fjord. That is fine. It is not a salad.
For the really tough ones — the ones that will not give up their outer layer no matter how much you scrape — the trick is to cut the stem into small pieces. Wine or broth will soften the stem in the cooking pot, and then it is just another part of the meal instead of the bit you have to fish out at the end of the plate.
When to stop washing, and when to move on
There is a point where I stop polishing the greens and start moving on with the meal. It happens more often than I used to think. If the water is clear and the leaves are shaking dry, the washing is done, and anything more is just me standing there and moving leaves around. The sink and the colander and the clean towel in the corner will tell you when you are done, and I have learned to listen to them before I get stuck in a loop where I am re-washing the same batch three times in an evening.
One more thing, because it keeps my sanity: I pull the colander out of the sink water and let the leaves settle in there. I let the water run through the holes, gently, for a few seconds before I move them to the towel. That rinse-out is not the wash. It is the finishing move. The tartar stays in the sink, and the greens come out clean. That takes fifteen seconds and I do it every single time.
The thank-you that does not get out
Here is what I have learned from doing this a few hundred times: the vegetables do not come out the way you want them to unless somebody has taken the time to pull them through these steps. That somebody is often the person who is washing the dinner table at the end of the night instead of the person who is eating the meal. I have stopped pretending I do it just because I like standing over a colander. I do it because I want the meal in front of me to come out the way it should come out, and because the person I share it with is more relaxed when the food does not have a fine coat of sand on the leaves.
The kids are old enough now to ask what I am doing at the sink. I tell them I am washing the vegetables. The youngest still looks at me like I am doing something he has not seen an adult do. I do not mind that. I do it the same way my senior did, and I keep the towel nearby, and no one in the house is chewing on sand, and that is all the proof I need that the setup is doing what it should.
Trade-It Tip: No colander hole-count to choose from? A flat mesh strainer set over a second bowl gives you the same up-and-out-of-the-bowl finish with nothing to buy.
If it does not fit a Tuesday night, it does not get published.