
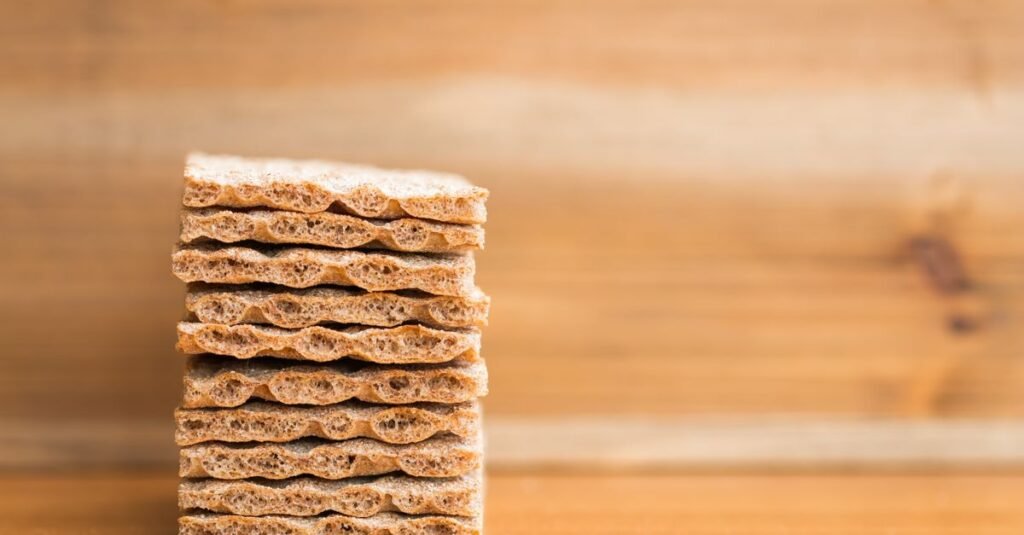
The first time I made graham crackers from scratch, I’d already given up. I was three steps in, dough on my hands, convinced I’d wasted a whole afternoon on something a supermarket box would have solved in ten seconds.
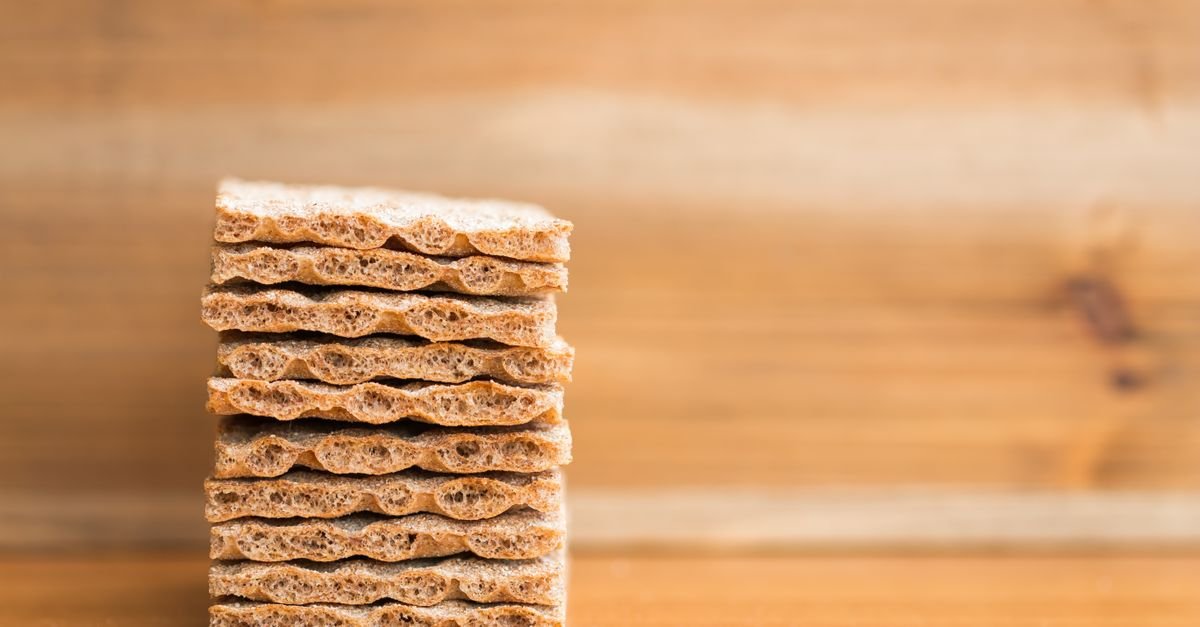
Then they came out of the oven and I bit into one still warm. Crisp, deeply buttery, that warm honey-and-cinnamon smell that no store-bought version has ever quite managed. It took about 2 hours start to finish — and I’ve made them every few months since.
Why these work
Store-bought graham crackers are usually made with oil and artificial flavoring to fake the buttery taste. These start with real butter and real honey, so the flavor is deeper and the snap is cleaner. And no, you don’t need specialty graham flour — a mix of whole wheat flour and all-purpose flour does the job, which is how most commercial versions do it too.
What you need
- 1 and 1/2 cups (195g) whole wheat flour (spooned & leveled) — the whole-grain graham flavor
- 2/3 cup (83g) all-purpose flour (spooned & leveled) — keeps them crisp, not dense
- 1/2 teaspoon baking soda
- 1/2 teaspoon salt
- 1 teaspoon ground cinnamon
- 8 Tablespoons (113g) unsalted butter, softened to room temperature
- 1/3 cup (67g) packed light or dark brown sugar
- 1/3 cup (113g) honey
- 1 teaspoon (7g) molasses (optional — I always use it, it makes the flavor)
- 1 teaspoon pure vanilla extract
- 1 and 1/2 Tablespoons (23g/ml) milk, room temperature — any kind, dairy or nondairy
Why this works: creaming the softened butter with the brown sugar is what makes a dough that rolls without cracking, and honey plus a little molasses is the flavor backbone of a real graham cracker. Skip the molasses and you lose the depth.
How to make them
Full times: about 2 hours start to finish, plus cooling (1 hour 45 minutes of hands-on prep and chilling, 16 minutes of baking). The chilling is not optional — it’s what keeps them from turning into puddles.
- Make the dough. Whisk the whole wheat flour, all-purpose flour, baking soda, salt, and cinnamon together in a medium bowl. In a large bowl, beat the softened butter and brown sugar on medium-high until light and creamy, about 3 minutes. Add the honey, molasses, and vanilla and beat until combined, scraping the bowl as needed.
- Add the milk, then the dry ingredients, and mix on low until just combined. The dough will be soft.
- Shape into squares. Divide the dough in half and flatten each portion into a square (not a disc — a square rolls into a rectangle much more easily; I’ve learned this the hard way). Wrap each tightly in plastic wrap and refrigerate for at least 1 hour, up to 2 days.
- Roll it out. If the dough has chilled longer than 1 hour, let it sit at room temperature for about 20 minutes to soften. Lay a silicone baking mat on the counter with a lightly floured sheet of parchment on top. Set the dough on the parchment, dust the top lightly, and cover with a second sheet of parchment. Roll into a rectangle that’s evenly 1/8-inch thick (just over 3mm). It takes a bit of arm strength at first and gets easier. The thinner you roll it, the crisper they’ll be.
- Peel off the top parchment. Trim the edges and use a pizza cutter or sharp knife to cut the slab into evenly sized rectangles — cut all the way through but leave the pieces together as one slab. A sturdy ruler is a genuine help here for straight, even edges. Dock each cracker several times with a fork so they don’t puff up.
- Slide the parchment onto a baking sheet and refrigerate for 20 minutes while you preheat the oven to 350°F (177°C). The chill keeps them from spreading — they really shouldn’t spread much at all. Repeat steps 4 and 5 with the second square of dough.
- Bake for about 16 minutes, rotating the pans halfway through, until lightly browned around the edges and dry on top.
- Cool on the baking sheet for 5–10 minutes, then move to a wire rack to cool completely. They crisp up considerably as they cool — don’t panic if they seem slightly soft straight out of the oven.
- Once fully cool, run a sharp knife along the seams to separate the crackers. Store in an airtight container at room temperature for up to 1 week.
Crisper or softer? Your call
- Crispier: roll the dough slightly thinner and bake an extra minute or two.
- Slightly softer: roll a touch thicker, trim the baking time a little, and let them cool completely on the pan instead of transferring to a rack.
Once you’ve got the basics down
- Swirl in a pinch of cardamom or ground ginger with the cinnamon
- Add orange zest for a bright citrus twist
- Dip cooled crackers halfway into melted chocolate and let set
- Cinnamon-sugar version: before baking, brush the tops very lightly with water and sprinkle with a mix of 3 Tablespoons (37g) granulated sugar and 1/2 teaspoon ground cinnamon. The kids at my table go for this one
What to do with them
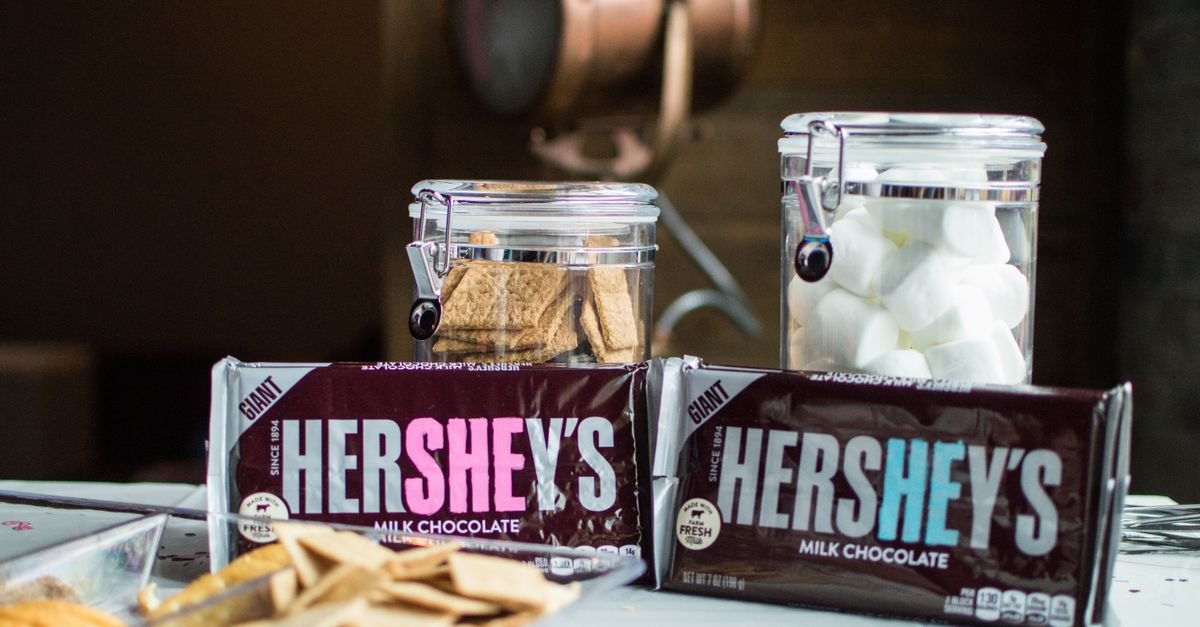
- S’mores — the whole point, honestly
- Pie and cheesecake crusts — one catch: because these are made with real butter (most store-bought crackers aren’t), cut the melted butter in your crust recipe from 6 Tablespoons (85g) down to 4 Tablespoons (56g), or the crust gets greasy and slides down the dish sides
- Crushed over banana pudding or key lime pie bars
- Layered into a no-bake icebox cake
- Straight from the cooling rack with peanut butter, chocolate spread, or buttercream
Storage and FAQ
How long do they keep? Up to 1 week in an airtight container at room temperature. If they go a little soft after a few days (or after freezing and thawing), re-crisp them in a 300°F (150°C) oven for about 5 minutes and cool completely.
Can I freeze them? Yes — up to 3 months, layered between sheets of parchment in a freezer-safe container. You can also freeze the dough (before rolling) for up to 3 months; thaw it in the refrigerator overnight, then bring it to room temperature for about 1 hour before rolling.
Can I use cookie cutters? Sure — treat it like cut-out sugar cookie dough. They’ll bake individually rather than as a slab, so they’ll likely need less time in the oven.
How many do I get? 24–32, depending on how large you cut them. One rolled-out portion cuts into 12, 15, or 16 rectangles, and the recipe makes two portions. The full batch of dough weighs about 600g if you’re curious.
Recipe card
Homemade Graham Crackers — crisp, lightly sweet, and properly buttery, with that classic honey-and-cinnamon flavor. Made from basic pantry ingredients, and far better than the box for snacking, s’mores, pie crusts, cheesecake crusts, and icebox cakes.
- Prep time: 1 hour 45 minutes
- Cook time: 16 minutes
- Total: 2 hours, plus cooling
- Yield: 24–32 graham crackers, depending on size
Nutrition (per serving of 4 crackers): 291 calories · 44.2g carbohydrates · 19.9g sugar · 12.2g fat · 4.3g protein · 228mg sodium · 30.6mg cholesterol
Recipe adapted from learning homemade graham cracker basics from King Arthur Baking & The Kitchn.
Make them this weekend
Here’s my honest take: these aren’t a weeknight snack — you’ll want to bake them a day ahead for whatever you’re using them in. But the first time you bite into one, you’ll get why I keep coming back to them. Try them, and if you make a s’more with one, tell me about it in the comments — and if you rate the recipe, it genuinely helps other home bakers find it.
Trade-It Tip: No molasses? You can leave it out — the honey carries the sweetness either way, you just lose a little of that dark, toasty depth. No whole wheat flour? You can nudge toward all-purpose, but you’ll miss the graham flavor that makes them them.
If it doesn’t fit a Tuesday night, it doesn’t get published. (These fit a Saturday — and that’s the honest trade.)